
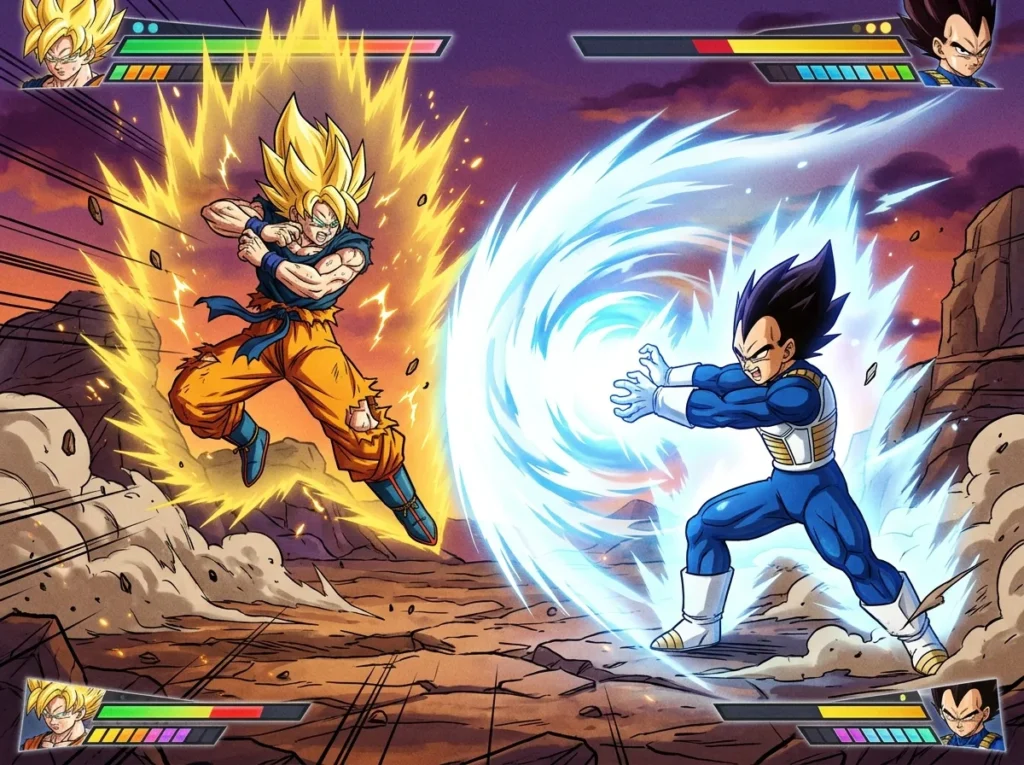
For most new players, the best choice for Sparking Zero controls is Standard, the scheme that Bandai Namco’s beginner guide recommends. In Standard, X on PlayStation or A on Xbox performs a Step or Short Dash, and R1 or RB holds your guard. Learn those three buttons first, and the rest of the game will start to feel familiar. The alternative, Classic, resembles controls from earlier Budokai Tenkaichi games, and either choice also changes the quick-time event prompts.
The scheme you pick also changes how quick-time event prompts work, so the choice affects more than attacks. Classic controls mirror earlier Budokai Tenkaichi games, which may suit players who grew up with those titles. As you learn, keep an eye on two bars. The Ki gauge drops during dashes and Ki Blasts, and a red bar stops movement until it recovers. The Skill Count gains one point each time its blue bar fills, and it powers transformations, fusions, and Revenge Counter.
Key Takeaways
- New players should start with Standard controls, the scheme Bandai Namco’s beginner guide recommends, where X on PlayStation or A on Xbox performs a Step or Short Dash and R1 or RB holds your guard.
- Choosing a control scheme changes the quick-time event prompts, so a player who switches from Standard to Classic will need to relearn which buttons appear on screen.
- Players should watch the Ki gauge during fights, because dashes and Ki Blasts drain it and a red Ki bar blocks movement until it recovers.
- Players should track their Skill Count, since it gains one point each time its blue bar fills and powers transformations, fusions, and Revenge Counter, which consumes one Skill Count.
- Beginners should practice Short Dash to dodge Blast Attacks before relying on Dragon Dash, because every Dragon Dash costs Ki.
Which Controls Should Beginners Pick First?
Start with Standard controls. Bandai Namco recommends this scheme to new players, and it is the layout this guide uses when it names buttons.
Classic controls are the other option. They copy the feel of earlier Budokai Tenkaichi games, so if you spent years playing those titles, Classic may feel natural from your first match. Standard, however, is built around how Sparking! ZERO is designed to be played today, which makes it the safer starting point for anyone new to the series.
The scheme you choose also changes the quick-time event prompts. A quick-time event, or QTE, is a short moment when the game asks you to press a specific button before time runs out. Because the prompts follow your scheme, a player on Classic sees different buttons on screen than a player on Standard. Keep that in mind when you watch a friend’s match or follow a video tutorial, since the button names may not match yours.
You can switch later, but you will need to relearn the prompts. Muscle memory built on one scheme can get in the way of the other for a while, so expect a few awkward moments after the change.
If you want to try both, spend one session on Standard and one on Classic, then stick with the layout that feels easier to read under pressure. Most beginners find that one scheme clicks quickly, and it is usually the one that keeps their attention on the fight instead of the controller.
How Do Movement and Dashing Work on Standard Controls?
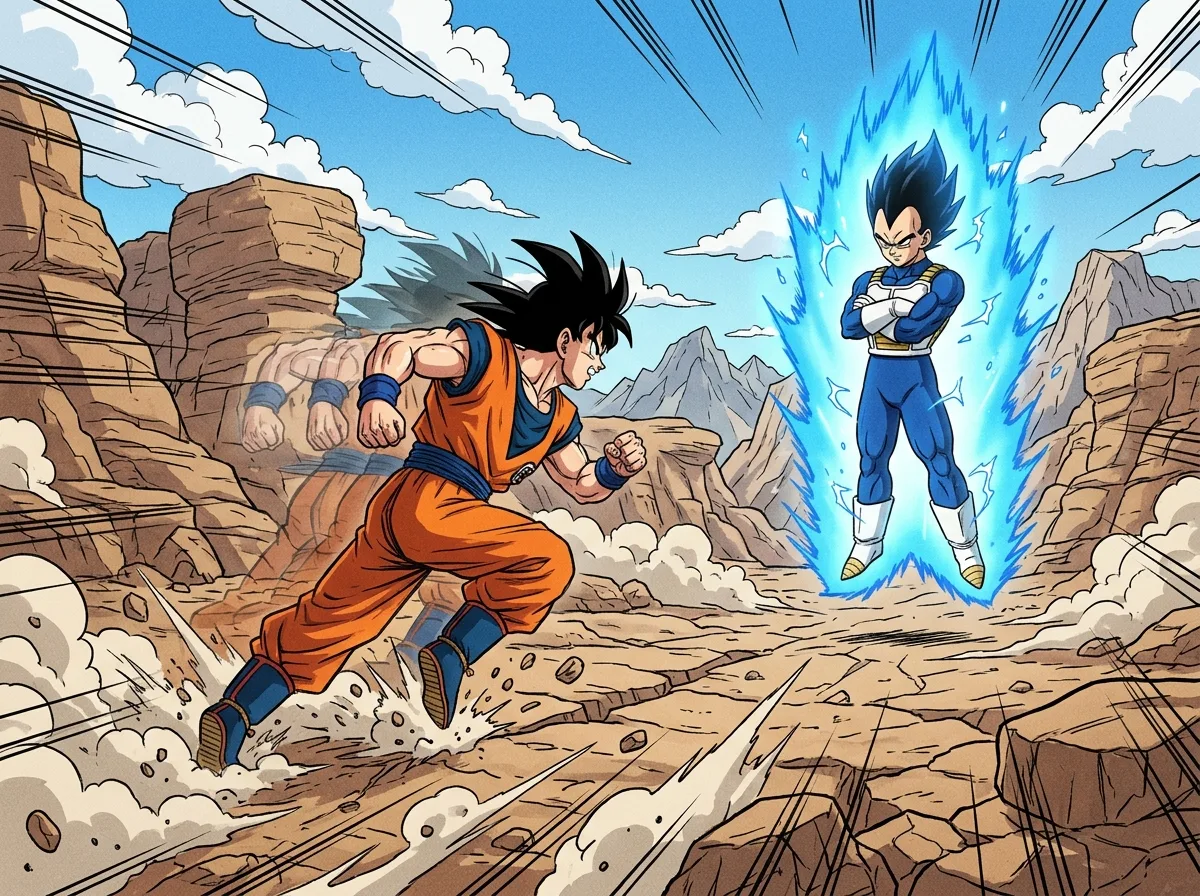
On Standard controls, X on PlayStation or A on Xbox performs a Step or Short Dash, L1 or LB makes your fighter ascend or jump, L2 or LT makes it descend, and holding R2 or RT while pressing X or A starts a Dragon Dash. The game decides between a Step and a Short Dash based on how far you are from your opponent.
A Step is a small, quick move that works well when you are already close to your opponent. When you are farther away, the same button press becomes a Short Dash, which covers more ground. Learning to read that distance is the first skill that makes movement feel natural.
Short Dash is also a defensive tool. Bandai Namco’s combo and feature breakdown identifies it as a way to dodge some attacks, such as Blast Attacks, so you can slip out of a ranged shot instead of blocking it.
Jumping is handled by the shoulder buttons. Press L1 or LB to rise into the air, and press L2 or LT to come back down. Practice both directions before a real fight, so you know where your fighter will land without looking at the controller.
To feel the difference for yourself, try this short drill in a practice match.
- Stand close to your opponent and press X on PlayStation or A on Xbox once to perform a Step.
- Walk away until you are farther from the opponent, then press X or A again to trigger a Short Dash.
- Hold R2 or RT and press X or A to start a Dragon Dash, and watch how quickly your Ki gauge drops.
- During the Dragon Dash, press X or A a second time to perform a Z-Burst Dash, which uses more Ki and can carry you behind your opponent.
Dragon Dash costs Ki every time you use it. Z-Burst Dash changes your position in a fight, and it costs even more Ki than the basic dash. Use it when a sudden move behind your opponent will create an opening.
Balance changes can shift these numbers over time. The April 2025 update notice reduced backward Short Dash speed and changed Z-Burst Dash so it consumes Ki based on the distance it travels after activation.
What Are the Core Attack Buttons and Rush Chains?
Your core attack buttons are the moves you use to strike, charge, and blast your opponent, and most of them draw from the same Ki gauge. The main options are melee presses, charged Smash Attacks, Ki Blasts, and Rush Chains. Each one has a different role, so it helps to know what they do before you mix them in a real fight.
- Melee presses: Square on PlayStation or X on Xbox, tapped for quick strikes.
- Smash Attack: the same button, held to charge and released at full power.
- Ki Blast: a ranged attack that spends energy from your Ki gauge.
- Rush Chain: a string of melee presses that ends with a finishing input.
A Rush Chain starts with up to four presses of Square or X. You then finish with Triangle on PlayStation or Y on Xbox. The result depends on your character, so the same button sequence can produce a different action for each fighter on your roster. Test the chains you plan to use in a practice match before you rely on them in a ranked fight.
Holding Square or X charges a Smash Attack. When the charge is full, release the button to perform a Power Smash. It knocks your opponent farther back than a normal hit, which gives you room to start a follow-up attack. Watch for the moment the charge finishes, because releasing early gives you a weaker hit.
Ki limits how often you can attack and move. The Ki gauge drops when you dash, when you fire a Ki Blast, and when you use a Blast Attack. If you spend too much, the bar turns red, and a red Ki bar blocks movement until it returns to normal. Save some Ki before a risky moment so you are not stuck in place when you need to escape.
How Do Blocking and Counters Work?
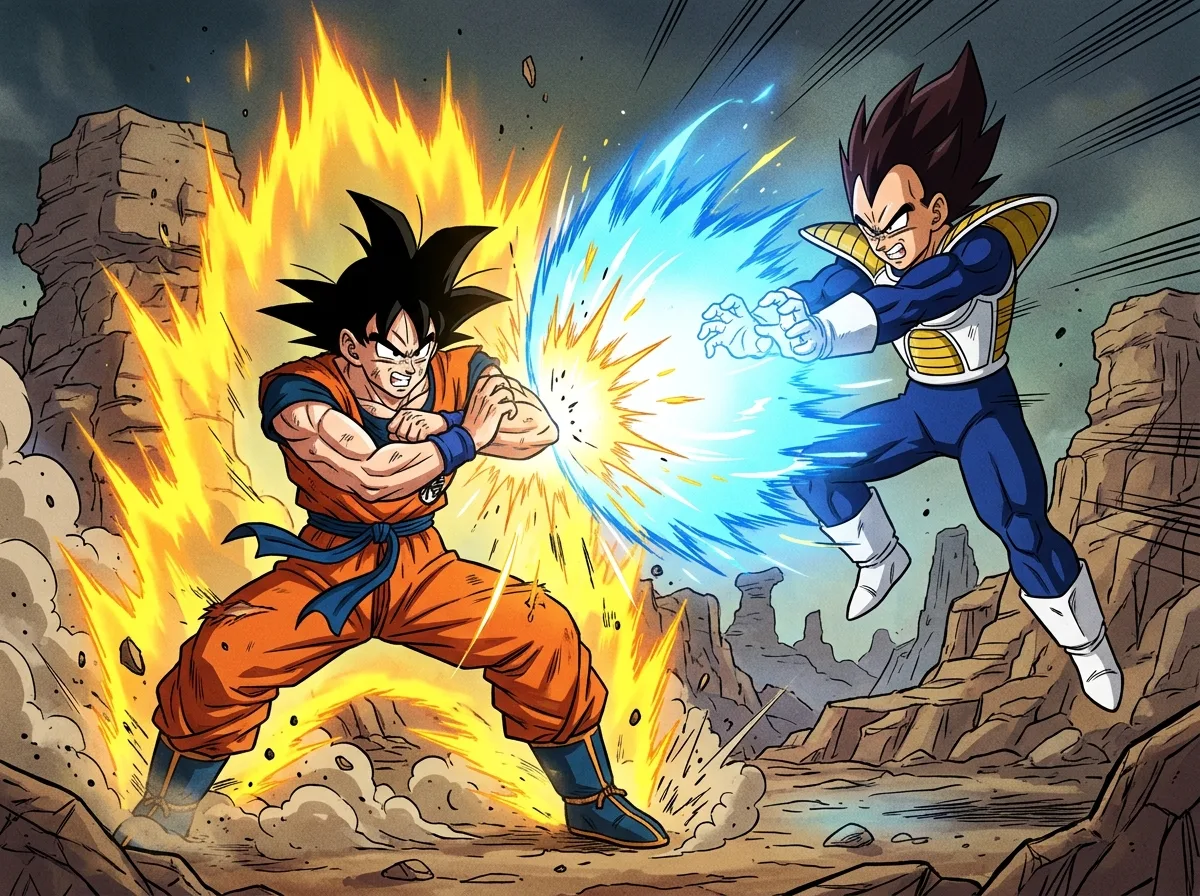
Blocking in Sparking Zero means holding your guard, and counters are moves that answer an attack instead of only absorbing it. On Standard controls, hold R1 on PlayStation or RB on Xbox to guard. While you hold guard, press up or down to pick a high or low guard, so you can match the height of an incoming attack. A guard that matches the attack protects you, while a guard that misses leaves you open.
Three counter options build on that defense. Each one costs something different, and each one works in its own situations.
- Super Perception: hold Circle on PlayStation or B on Xbox. It uses Ki or Skill Count depending on the counter, and it costs 2 Skill Count when used against certain Blasts.
- Revenge Counter: press R3 on PlayStation or the right stick on Xbox. It works while you are being attacked and consumes one Skill Count.
- Super Counter: press up plus Square or X. It can work while you are being hit or attacked from behind, but it requires extremely precise timing.
Revenge Counter is the simplest of the three to fit into a fight, because it can be used in the middle of an attack. Super Perception asks you to plan ahead, since its Skill Count cost jumps to 2 against certain Blasts. Super Counter is the most demanding. Its timing is tight, so practice it in a quiet match before you rely on it in a ranked fight.
Keep an eye on your Skill Count bar while you defend. Revenge Counter spends it directly, and some uses of Super Perception draw from it too, so a low bar can leave you with fewer options when a Blast arrives.
How Do You Set Up Keyboard and Mouse Controls?
Set up keyboard and mouse by placing your most-used actions under the fingers that already rest on the keys. Group your controls into movement, defense, and attacks, then bind each group to keys that sit close together.
Start with movement. Bind your directional keys in a compact cluster so your fingers can reach dashes and jumps without stretching. On Standard controls, the Step or Short Dash, ascend, and descend actions each have their own button, so give each one a key next to your movement keys. Dragon Dash also needs a held input, so place that held key beside the dash key where your other fingers can press both at once.
Keep guard and Revenge Counter close together for fast defense. Guard is held, and pressing up or down while holding it selects a high or low guard, so the guard key should sit where your hand can also reach the direction keys. Revenge Counter works while you are being attacked, so a nearby key lets you respond without searching the keyboard.
Place your Ki Blast keys where you can press them without lifting your hand off the movement keys. Melee strikes, Smash Attacks, and Rush Chains all depend on quick timing, so keep the strike key and the finisher key within easy reach of each other.
Keep the mouse separate from your core combat inputs. Leave the mouse buttons unbound from attacks and defense, so a stray click mid-fight does not trigger a move you did not plan.
Before your first match, open the settings menu and check every key assignment. Look for two actions sharing one key, and confirm that the Standard scheme is selected so the on-screen prompts match your layout. Then run a short practice match and press each key once to confirm it does what you expect.
Is a Controller Easier Than a Keyboard for Sparking Zero?
Neither device is objectively easier for Sparking Zero. A controller often feels more natural if you already play on a console, while a keyboard and mouse gives you more keys to assign. The better choice depends on how your hands already move.
On a controller, you can move with the D-pad or the left analog stick. The D-pad gives precise, grid-like input, so each press moves you in a clean, predictable direction. The analog stick offers smoother control, letting you angle your movement slightly instead of snapping to one direction.
Analog sticks can drift, meaning your fighter keeps moving when you are not touching the stick, or they can feel unresponsive near the edges of their range. The deadzone setting controls how far the stick must move before the game registers input. A larger deadzone can stop drift, while a smaller one lets light movements register. Change it in small steps, and test in a practice match after each adjustment.
Remapping helps when the default layout fights your habits. If you have spent years with another game’s button placement, moving a dash or guard input to the button your thumb already expects can reduce mistakes. Change only a few buttons at a time, since remapping everything at once makes the new layout harder to learn.
Keyboard setups depend on key placement. The keys you press most should sit close to your movement keys, and the mouse handles camera control so your fingers stay free for combat. A controller works differently because every action lives on a fixed button layout, so your thumbs and shoulder buttons do most of the work.
Why Did My Controls Feel Different After an Update?
Controls can feel different after an update because Bandai Namco adjusts balance over time, and some of those changes affect movement directly. The April 21, 2025 update for version Ver.2011.010.003.007.006 reduced the speed of a backward Short Dash, so retreating now moves you more slowly than before. If your old timing for escaping an attack feels a little off, that change is a likely reason.
The same update adjusted Dragon Dash recovery after a Short Dash, which changes how soon your fighter can act again once that dash ends. It also changed Z-Burst Dash. The move now consumes Ki based on the distance it travels after activation, so a longer Z-Burst costs more energy than a short one. Keep that in mind when you plan your Ki before a fast exchange.
The Bandai Namco September 3, 2026 update notice, covering an update scheduled to start September 4, lists CPU behavior and overall stability adjustments. It does not list any change to the control system. If your inputs suddenly feel wrong that week, the computer opponents may simply be acting differently.
When controls feel off, check the patch notes before you change your settings. Find the version number in the game or on the update notice, then look for any listed changes to dashes, Ki costs, or defensive moves. If a change explains what you are seeing, adjust your habits to match it. If nothing is listed, test the move in a practice match before you remap any buttons.
How Can Beginners Build Muscle Memory Fast?
Muscle memory comes from repeating the same actions until your hands do them without thinking. Work through the skills in a set order, and move on only when the current one feels automatic.
- Step and Short Dash: practice dodging with Short Dash before you try Dragon Dash, since a Short Dash can slip you out of Blast Attacks.
- Dragon Dash and Z-Burst Dash: add these once your dodges feel steady, because both cost Ki.
- Rush Chains and guard: learn high and low guard before you test chains in a real match.
- Counters: try Revenge Counter, Super Perception, and Super Counter last, after your guard timing is reliable.
Watch the Ki gauge before you dash again and again. Dragon Dash and Z-Burst Dash drain it quickly, and once the bar turns red, you cannot move until it recovers. Glance at the bar after each dash, and only dash again when it has room to spare.
Track your Skill Count in every session too. Transformations, fusions, Super Perception, and Revenge Counter all draw from it, and it gains one point each time its blue bar fills. Before a fight, check the count and decide which options you can afford.
Keep your fingers resting on the main buttons instead of lifting them between actions. On a controller, your right thumb can stay on X or A, your right index finger on R1 or RB, and your left index finger on L1 or LB. A resting finger can reach the next button without a search, which cuts down the delay between moves.
Start Your First Practice Match
Open the settings menu first and confirm that Standard is selected, so the on-screen prompts match the buttons in this guide. Then start a practice match against a computer opponent. Pick a fighter whose Rush Chain you want to learn, and set winning aside for now.
Give your first session three simple goals. Land one fully charged Power Smash, dodge one Blast Attack with a Short Dash, and block one melee attack with the correct high or low guard. Finish each goal before moving on, because each one builds on the last.
Once those feel steady, try Super Counter in short bursts. Press up plus Square or X at the moment of impact, and expect many misses at first. Its timing is tight, so a few minutes of focused practice will teach you more than a long, frustrating session.
Keep a short list of moments that confused you, such as a missed QTE prompt or a Ki bar that turned red at the wrong time. Bring that list into your next practice match, and test one fix at a time. When you can run through all three goals without stopping to think, you are ready to try online matches.
Frequently Asked Questions
1. Which Skill Count action should a new player spend first?
Revenge Counter is the best first spend for a new player because it consumes just one Skill Count and can be used in the middle of an attack. Super Perception can cost 2 Skill Count against certain Blasts, so it asks for a bigger commitment. Save transformations and fusions for later, once your guard and dodges feel steady and your blue bar has filled enough times to pay for them.
2. Is the Z-Burst Dash worth the extra Ki for a beginner?
Z-Burst Dash is worth learning, but most beginners should use it sparingly at first. It costs more Ki than a basic Dragon Dash, and since the April 2025 update, its Ki cost depends on how far it travels after activation. Save it for moments when a sudden move behind your opponent creates a real opening.
3. Are keyboard and controller inputs the same for Super Counter timing?
Super Counter requires extremely precise timing, so practice it with the exact bindings you plan to use, whichever device you choose. That way your fingers learn the layout before you try Super Counter in a ranked match.

